Build for Tronbyt
To build apps for Tronbyt, use Pixlet. Apps developed with Pixlet can be served in a browser or pushed to a physical Tronbyt device.
Requirements
- You've installed Pixlet.
- You are familiar with using a terminal.
Hello, World!
Pixlet applets are written in a simple, Python-like language called Starlark. Here's the venerable Hello World program:
load("render.star", "render")

def main():
    return render.Root(
        child = render.Text("Hello, World!")
    )
Copy the code above and save it as hello_world.star. Run it with the
pixlet serve command:
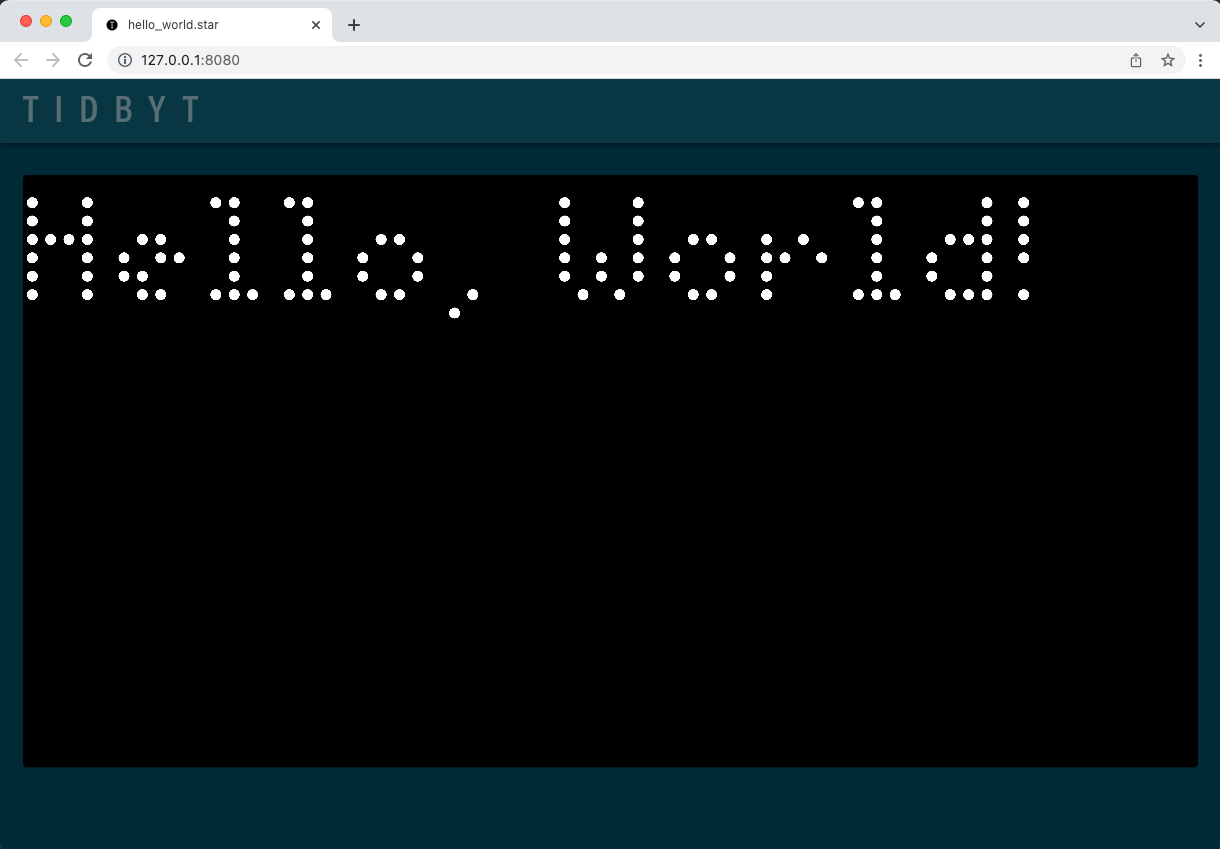
You can view the result by navigating to http://localhost:8080:
Push to a Tronbyt
If you have a Tronbyt, pixlet can push apps directly to it:
# render the bitcoin example
pixlet render examples/bitcoin.star

# login to your Tronbyt account
pixlet login

# list available Tronbyt devices
pixlet devices

# push to your favorite Tronbyt
pixlet push <YOUR DEVICE ID> examples/bitcoin.webp
To get the ID for a device, run pixlet devices.
How it works
Pixlet scripts are written in a simple, Python-like language called Starlark. The scripts can retrieve data over HTTP, transform it and use a collection of Widgets to describe how the data should be presented visually.
The Pixlet CLI runs these scripts on your computer (Mac, Windows or Linux) and renders the result as a WebP
or GIF animation. You can view the animation in your browser, save
it, or even push it to a Tronbyt device with pixlet push.
Note
Scripts do not run on Tronbyt devices, only rendered WebP or GIF animations are sent to it.
What's next?
- Read the in-depth tutorial on building a more advanced app.
- See our best practices for authoring apps.
- Check out the references for the widgets and modules.
- Learn about fonts you can use in Pixlet apps.
Publish your app
Once you've got an app that's looking spiffy, you can publish and share it with the community.