Pushing Apps
Low resolution applications are of course wonderful in their own right, but they're even better when you've pushed them to your Tronbyt! In this chapter, we'll cover how to do that (and more) using the Tronbyt API.
Pixlet Push
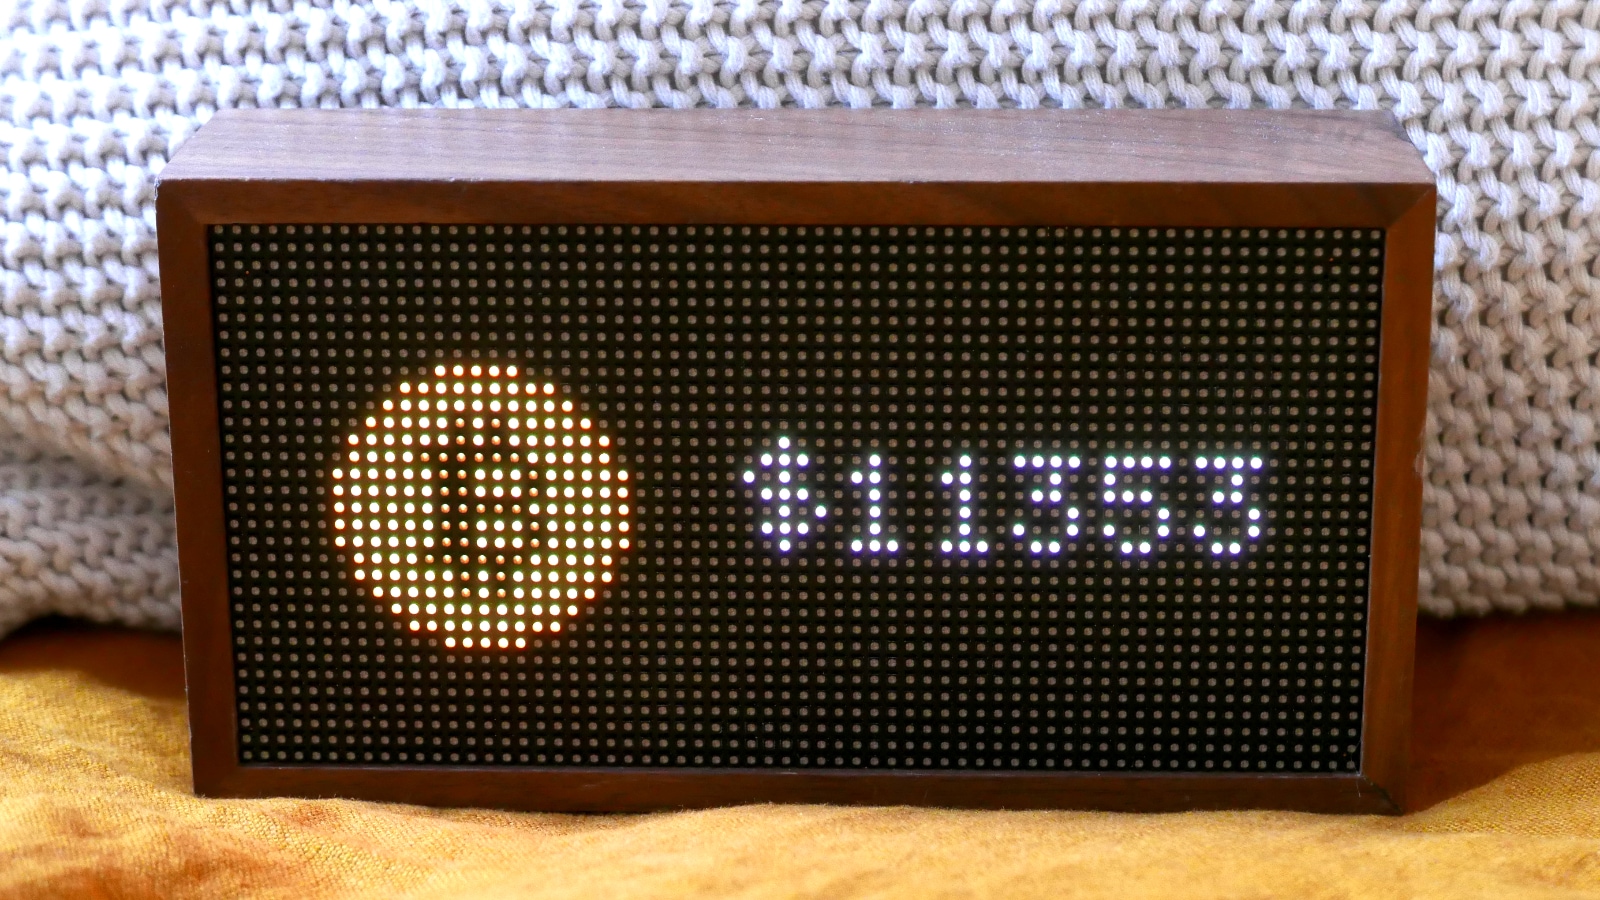
Let's say you've built a beautiful bitcoin
tracker located in examples/bitcoin.star. You can easily render this
to a webp image using pixlet:
To get the resulting webp displayed on your Tronbyt, you need two pieces of information: your Device ID and your API Token.
To "push" the Bitcoin graphic to your Tronbyt, run:
Run pixlet devices if you don't know the device ID of your device.
If all goes well, you should see the Bitcoin tracker appear on your Tronbyt:
After a couple of seconds, your Tronbyt will go back to its regular rotation of apps on display.
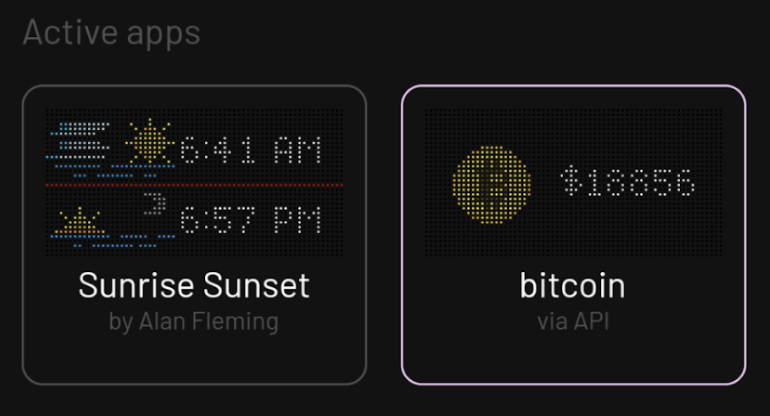
Apps and Installations
Tronbyt comes with a ton of apps out of the box, and you've likely added a number of them to your Tronbyt already. Each time an app is added, an "installation" object is created. This is essentially a record saying "this app is to be run for this device, using these configuration options". The device will rotate between displaying installations one at a time.
When pushing a graphic, you can instruct Pixlet to create an installation for you:
This means the graphic will enter the regular rotation of apps, and become visible among them in the Tronbyt app.
Keep in mind though, the graphic associated with the installation will only change if you push a new one. If you really want to stay up to speed on the price of Bitcoin, you'll have to either keep pushing the graphic, or look into publishing your app. =)