Installing Pixlet
To use Pixlet, one first has to install the CLI tool.
Install on macOS
First, install Homebrew on your computer. Then, in your terminal, run the following:
Install on Linux
Download the pixlet binary from the latest release and move it into your PATH. A complete example looks like the following:
# Download the archive.
curl -LO https://github.com/tronbyt/pixlet/releases/download/v0.52.0/pixlet_v0.52.0_linux_amd64.tar.gz

# Unpack the archive.
tar -xvf pixlet_0.22.4_linux_amd64.tar.gz

# Ensure the binary is executable.
chmod +x ./pixlet

# Move the binary into your path.
sudo mv pixlet /usr/local/bin/pixlet
Install on Windows
First, install a file archiver that can support tar.gz archives if you don't already have one. NanaZip works great if you don't know where to start. Once installed, download the Windows pixlet binary from the latest release on GitHub.
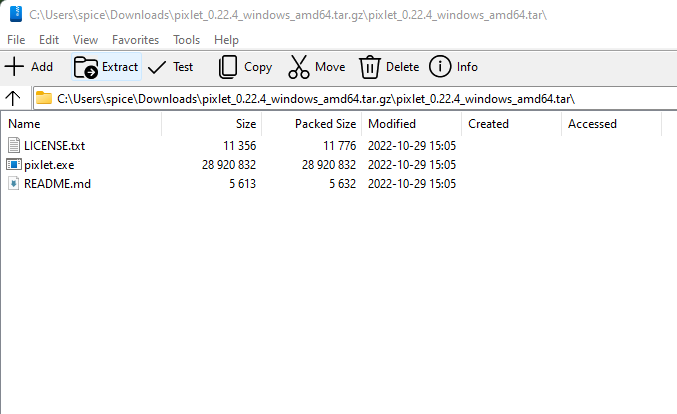
Open the file with NanaZip and double click on the archive to see the contents. Then, click extract:
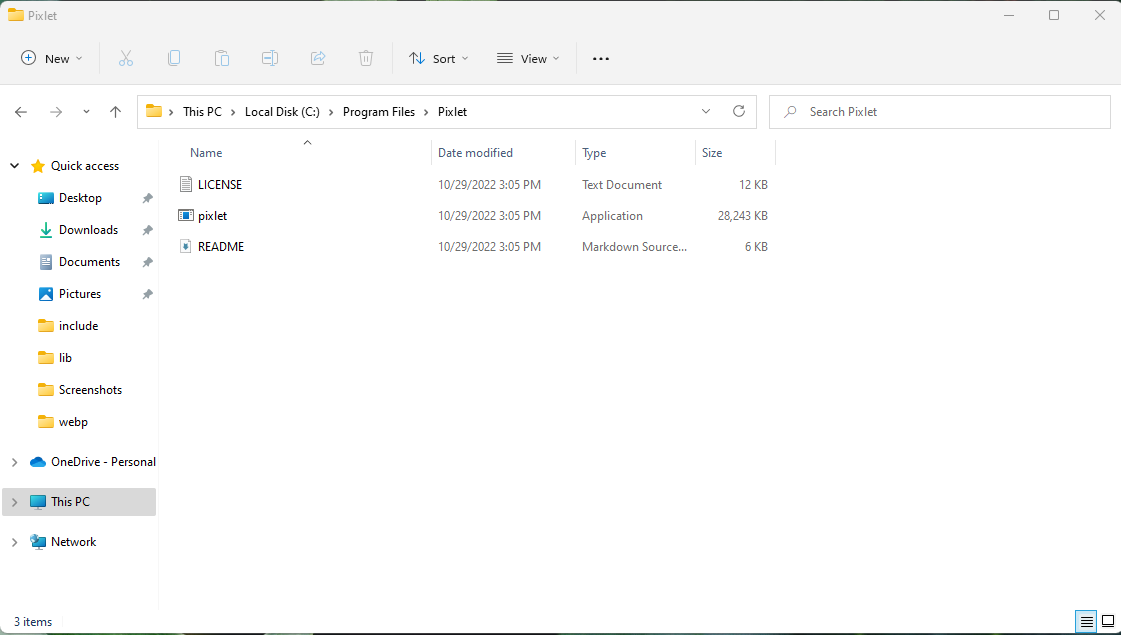
Navigate to This PC -> Local Disk -> Program Files and create a folder named Pixlet. Copy the extracted contents to this folder:
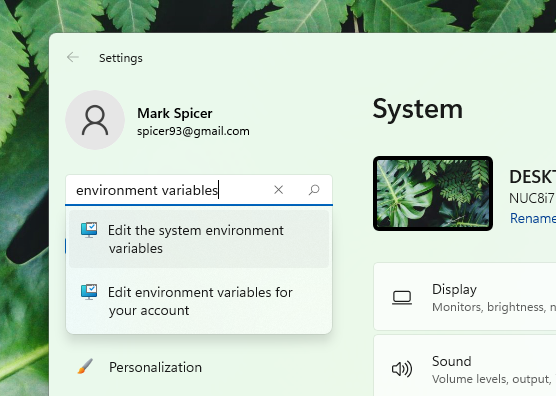
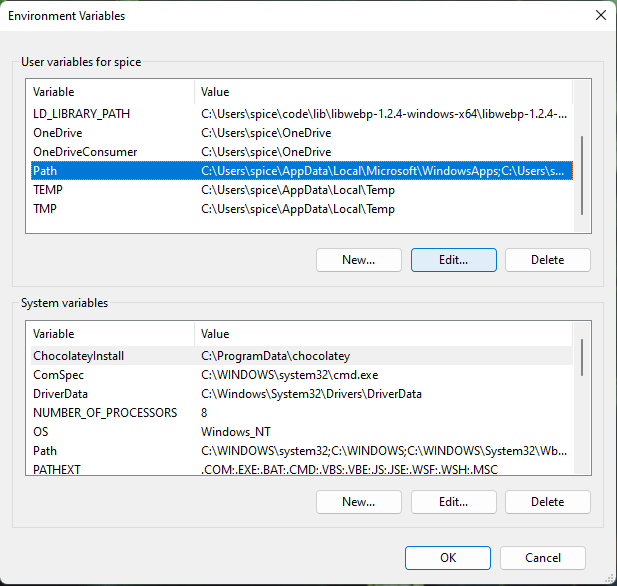
Go to Settings and search for environment variables and select Edit the system environment variables:
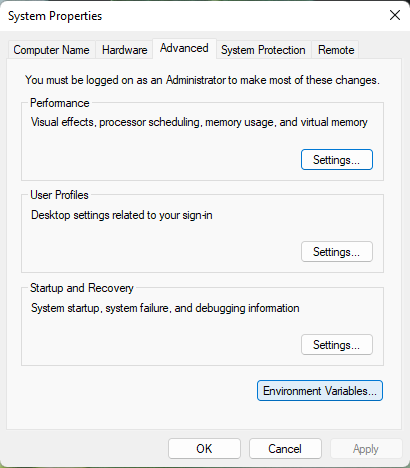
Click Environment Variables:
Under User space variables, select Path and select Edit:
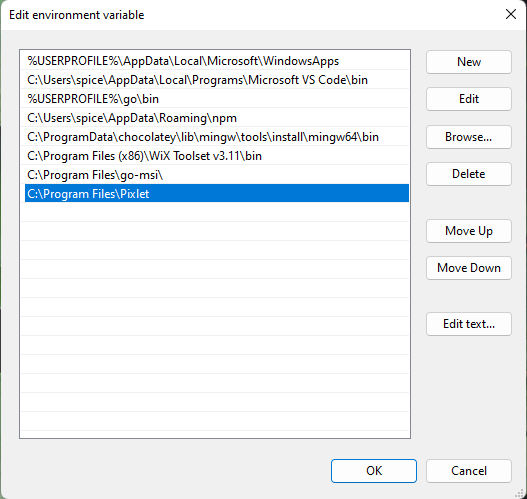
Click New and browse to the newly created Pixlet folder and click ok:
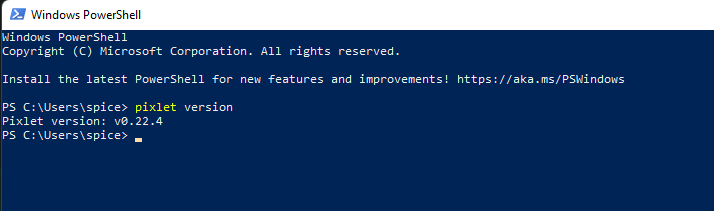
Open a new instance of PowerShell and run pixlet version. If all went well, you should see the following:
Build from source
If you'd prefer to build Pixlet from source, see the instructions in the Pixlet repository.